Master Shell Nail Art with 3 simple tutorials! Get step-by-step guides, must-have products, and pro techniques for stunning shell-inspired nails at home.


3 Easy Shell Nail Art Tutorials
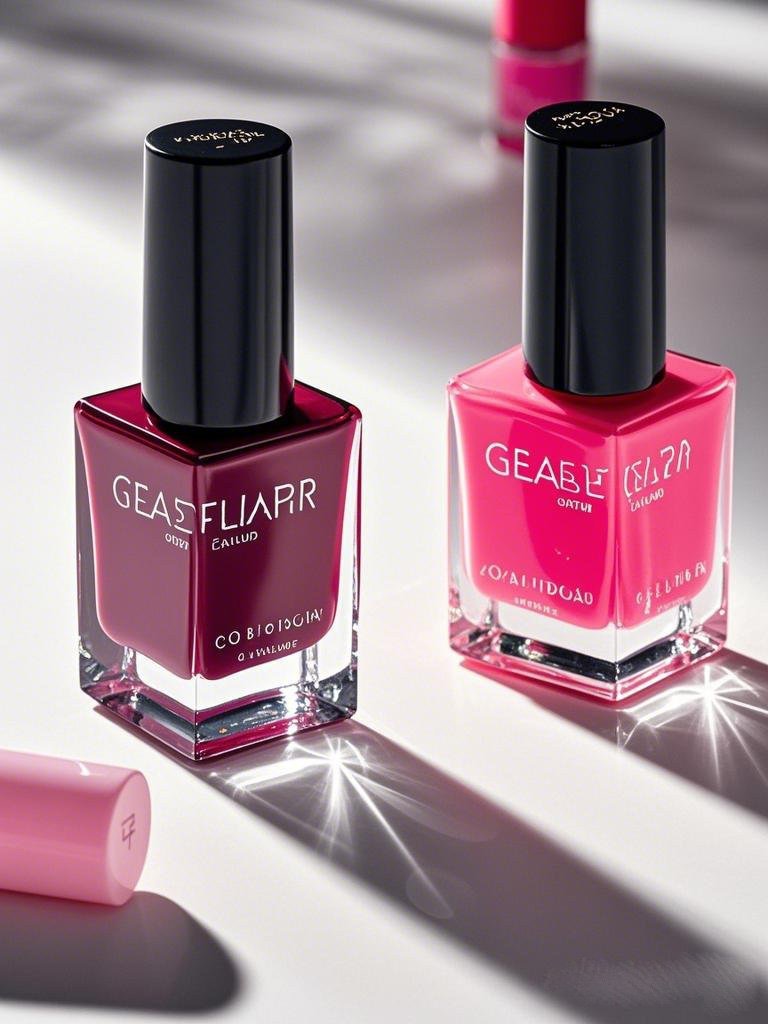
Want to try the trendy Shell Nail Art but don’t know where to begin? You’re in luck! These 3 simple tutorials will help you create stunning, shell-adorned nails at home. Shell Nail Art has taken the beauty world by storm with its elegant, textured look—and now you can achieve salon-quality results without the salon price tag.
Why Try Shell Nail Art?
Shell Nail Art isn’t just beautiful—it’s also versatile and budget-friendly. Here’s why it’s worth trying:
- Unique Texture: Real or faux shell pieces add a luxurious, iridescent finish that stands out.
- Endless Customization: Pair shells with glitter, metallics, or pastels for a subtle or bold look.
- Cost-Effective: Skip expensive salon visits and master these designs at home.
Essential Prep Work for Stunning Shell Nail Art
Long-lasting Shell Nail Art starts with proper prep:
- Clean & Dehydrate: Remove old polish with acetone, then wipe nails with alcohol to eliminate oils.
- Buff Gently: Lightly buff nails for better adhesion—but avoid over-buffing to prevent weakening.
- Push Back Cuticles: Use a cuticle pusher for a clean canvas and more space for shells.
- Shape Nails: File nails into your preferred shape (round, square, almond, etc.) before starting.
Pro Tip: Proper nail prep is the foundation of long-lasting Shell Nail Art. Master the essentials with our Nail Prep Masterclass to ensure flawless adhesion and durability.
Must-Have Products for Flawless Results
| Product | Purpose |
| Nail dehydrator | Removes moisture for better adhesion |
| Bonding primer | Strengthens the bond between nails and shells |
| Buffer block | Creates a smooth yet slightly textured surface |
| Cuticle remover | Cleans nail plate by removing dead skin |
Application Techniques for Stellar Shell Nail Art
Step – by – Step Process
Follow this detailed process to create stunning Shell Nail Art:
- Apply a Base Coat: Apply a thin layer of base coat to the entire nail. Make sure to cover the entire nail surface but avoid getting the base coat on the skin around the nails. Cure the base coat properly according to the product instructions. This base coat will act as a foundation for your Shell Nail Art.
- Add Shell Pieces: Using a pair of tweezers, carefully pick up a shell piece. Place it on the nail surface in the desired position. You can use a single large shell piece as a focal point or multiple smaller pieces to create a pattern. Press the shell piece gently to ensure it adheres well. If you’re using artificial shell pieces, some may require a bit of adhesive to stay in place.
- Reinforce and Embellish: Apply a layer of reinforcement glue or clear top coat over the shell piece to secure it. You can also add other embellishments like glitter, rhinestones, or gold foil at this stage. If adding glitter, sprinkle it while the reinforcement glue is still wet.
- Build Color (Optional): If you want to add color to your Shell Nail Art, apply nail polish in thin layers. Two to three thin coats are better than one thick coat as thick coats are more likely to chip. Cure each layer properly before applying the next.
- Cap the Free Edge: Wrap the nail polish or top coat under the free edge of the nail. This helps prevent chipping and extends the lifespan of your Shell Nail Art.
- Finish with a Top Coat: Apply a final layer of top coat to seal the entire design. Make sure to cover all the edges and the shell pieces. The top coat gives your nails a glossy finish and protects the shell pieces and nail polish from everyday wear and tear.
Common Mistake: Rushing curing times can result in under-polymerization, which is a leading cause of premature wear in Shell Nail Art. For optimal longevity, always adhere to the manufacturer’s recommended curing times.
For a step-by-step visual guide, watch our Gel Application Video Tutorial for Shell Nail Art.
Product Selection Guide
Choose the right products to ensure your Shell Nail Art turns out perfectly:
- Best for Natural Nails:
- Rubberized base coats provide excellent adhesion and flexibility, which is great for natural nails.
- Builder gel systems can be used to create a more durable base for the shell pieces.
- Hybrid polish formulas offer a combination of the benefits of traditional nail polish and gel polish.
- Best for Extensions:
- Polygel kits are ideal for creating extensions and adding shell pieces on top.
- Acrylic systems are a classic choice for extensions and can hold shell pieces securely.
- Fiberglass wraps can be used to strengthen extensions and provide a stable surface for Shell Nail Art.
Need the best longevity? Compare top-performing products in our Longest-Lasting Nail Products Review for Shell Nail Art—so you can choose with confidence.
Maintenance Secrets for Long – Lasting Shell Nail Art
Daily Protection Habits
Make your Shell Nail Art last through daily life with these simple habits:
- Wear Gloves: Protect your nails by wearing gloves when doing activities like washing dishes, cleaning, or gardening. These activities can expose your nails to harsh chemicals and moisture, which can cause the shell pieces to lift or the nail polish to chip.
- Apply Cuticle Oil: Apply cuticle oil twice a day. This keeps the cuticles hydrated and also helps in maintaining the health of the nails. Well – hydrated cuticles can prevent the shell pieces from lifting at the edges.
- Avoid Using Nails as Tools: Refrain from using your nails to open cans, scrape off labels, or perform other tasks that can put stress on your nails. Using your nails as tools can cause the shell pieces to break or the nail polish to chip.
- Moisturize Hands Regularly: Keep your hands moisturized. Dry hands can lead to dry and brittle nails, which can affect the longevity of your Shell Nail Art.
Extend the life of your Shell Nail Art!
Download our free Nail Longevity Checklist for easy, daily care reminders.
Weekly Maintenance Routine
- Inspect for Lifting: Check your nails once a week for any signs of lifting. If you notice a small area where the shell piece or nail polish is starting to lift, you can try to re – adhere it using a small amount of glue or top coat.
- Buff Shine from Top Coat: If the top coat has lost its shine over the week, you can gently buff the nails to restore some of the shine. Be careful not to buff too hard as it can damage the shell pieces or the nail polish.
- Apply Fresh Top Coat: Apply a fresh layer of top coat once a week. This helps in sealing the design again and gives your nails a new, glossy look.
- Rehydrate with Intensive Treatment: Once a week, you can give your nails an intensive treatment. Soak your nails in a bowl of warm water with a few drops of cuticle oil for a few minutes. This helps in rehydrating the nails and cuticles.
Fix any Shell Nail Art mishap!
Get instant solutions for lifting, chipping, and more with our Nail Repair Guide.
Troubleshooting: Why Your Shell Nail Art May Not Last
Common Problems & Solutions
| Problem | Cause | Fix |
| Lifting at Edges | Improper nail surface preparation or exposure to moisture | Re – prep the nail surface with a dehydrator and make sure to avoid moisture. You can also apply a small amount of glue to re – adhere the lifted area. |
| Chipping | Thin application of nail polish or rough handling of nails | Build up the nail polish in thicker layers, making sure to cap the free edge. Also, be more careful with your hands to avoid rough handling of nails. |
| Peeling | Old or low – quality shell pieces or nail polish | Replace expired shell pieces or nail polish with new, high – quality products. |
| Discoloration | Staining from certain nail polish colors or exposure to harsh chemicals | Use an opaque base coat to prevent staining. Avoid exposing your nails to harsh chemicals. |
When to Remove
Even with proper care, there comes a time to remove your Shell Nail Art:
- Visible Lifting: If there is significant lifting, there is a risk of moisture and bacteria getting under the shell pieces or nail polish. It’s best to remove and redo the Shell Nail Art.
- More than 2 – 3 Chips: If your nails have more than 2 – 3 chips, it’s a sign that the Shell Nail Art has reached the end of its lifespan and needs to be removed.
- Grown Out More than 3mm: When the nails have grown out more than 3mm, the Shell Nail Art may start to look uneven. It’s time to remove and start fresh.
- Any Signs of Damage: If the shell pieces are broken or the nails show signs of damage, it’s advisable to remove the Shell Nail Art.
Remove Shell Nail Art safely at home!
Protect your natural nails with our step-by-step Safe Removal Guide.
Advanced Techniques for Maximum Longevity
Professional Touches You Can DIY
- Nail Taping Method: Use tape to protect the cuticles and surrounding skin when applying shell pieces or nail polish. This prevents flooding of the cuticles and gives a neater finish.
- Apex Building: Build an apex on the nails. This creates a stronger structure for the shell pieces and nail polish, making the Shell Nail Art more durable.
- Dual Forms: Use dual forms for creating extensions or adding shell pieces in a more precise way. Dual forms help in shaping the nails and extensions more accurately.
- Flash Curing: Flash cure each layer for a few seconds before fully curing. This helps in setting the layer and reduces the risk of smudging or movement of the shell pieces.
New to Shell Nail Art?
Start with our Beginner Gel Nail Course to master fundamentals before attempting advanced techniques.
Safety Note: Some methods require practice – improper application may damage natural nails.
Temperature Considerations
- Warm Hands Before Application: Warm your hands before starting the Shell Nail Art application. This makes the nail polish and glue more viscous, allowing for easier application.
- Store Products at Stable Room Temperature: Store your shell pieces, nail polish, and other products at a stable room temperature. Extreme temperatures can affect the quality and performance of these products.
- Avoid Extreme Cold After Application: After applying Shell Nail Art, avoid exposing your nails to extreme cold. Cold temperatures can cause the nail polish and shell pieces to become brittle.
“Why does temperature ruin your manicure?
Discover the chemistry behind perfect Shell Nail Art in our Science of Nail Chemistry Guide.”
Product Recommendations for Longest Wear
- Budget – Friendly Options:
- Drugstore gel systems can be surprisingly durable for Shell Nail Art. Look for brands that have good reviews.
- Amazon kits often offer a variety of products at affordable prices. Check for kits with 4+ star reviews.
- Beauty supply dupes can provide salon – quality results at a lower cost.
- Splurge – Worthy Investments:
- Professional – grade lamps offer better curing, ensuring that your Shell Nail Art lasts longer.
- Medical – grade prep products provide superior adhesion for shell pieces and nail polish.
- Japanese/Korean gels are known for their advanced formulas and long – lasting properties.
Find Your Perfect Match—At Any Budget!
Discover top-rated products for every price range in our Best Nail Products by Budget Guide—no more guessing which products are worth the splurge!
Lifestyle Adjustments for Lasting Results
Helpful Habits
- Take Supplements: Take hair, skin, and nail supplements. These supplements can strengthen your nails, making them less prone to breakage and improving the longevity of your Shell Nail Art.
- Stay Hydrated: Drink plenty of water. Staying hydrated helps in preventing brittle nails. Well – hydrated nails are more flexible and can better withstand the wear and tear of daily life.
- Manage Stress: Find ways to manage stress. Stress can lead to nail – biting or picking, which can damage your Shell Nail Art. Practice relaxation techniques like meditation or deep breathing.
Harmful Activities to Avoid
- Excessive Hand Washing: Avoid excessive hand washing as it can dry out your nails. If you need to wash your hands frequently, use a moisturizing soap and apply hand cream or cuticle oil afterwards.
- Hot Tubs/Saunas: Limit your time in hot tubs and saunas. The high temperatures and humidity can weaken the bonds between the shell pieces and nail polish.
- Contact with Citrus Oils: Citrus oils can degrade the nail polish and shell pieces. Avoid using products that contain citrus oils or wear gloves when handling citrus fruits.
Explore our Holistic Nail Health Guide for expert tips on diet, care routines, and lifestyle habits that help your Shell Nail Art last longer while keeping nails strong.
Step – by – Step 14 – Day Maintenance Plan
Day 1 – 3: Fresh Application
- Avoid water exposure for the first 24 hours.
- Wear gloves for any chores that may expose your nails to water or harsh chemicals.
- Apply cuticle oil twice a day.
Day 4 – 7: Early Maintenance
- Inspect your nails for any signs of lifting or chipping.
- If the top coat has lost some of its shine, you can gently buff the nails.
- Apply a fresh layer of top coat to seal the design again.
Day 8 – 14: Extended Wear
- Keep an eye on your nails for any chips or damage.
- If you notice a small chip, you can do a spot repair using a small amount of nail polish and top coat.
- Start preparing for removal if your nails have grown out significantly or if there are signs of wear and tear.
Stay consistent and see real results with our free 14-Day Nail Care Planner – your step-by-step guide to healthier nails and longer-lasting Shell Nail Art.
Final Checklist for Long – Lasting Shell Nail Art
Before Application
☑ Proper nail surface preparation
☑ High – quality shell pieces and nail products
☑ Allocate enough time for the application process
During Application
☑ Apply thin, even layers of nail polish and glue
☑ Cure each layer properly according to the product instructions
☑ Seal all the edges, including the free edge and around the shell pieces
Aftercare
☑ Follow daily protection habits
☑ Perform regular maintenance as per the weekly routine
☑ Remove the Shell Nail Art in a timely manner when it’s time
Grab your free DIY Longevity Checklist and discover:
✔️ Prep secrets for better adhesion
✔️ Daily habits to prevent chipping
✔️ Pro troubleshooting for common issues
✔️ Product recommendations that really work
Call to Action
- Try One Technique Today: Start with proper nail surface preparation and see the difference it makes in your Shell Nail Art.
- Join Our Challenge: Participate in our 14 – day nail longevity test for Shell Nail Art. Share your progress and results with us.
- Share Your Results: Tag us in your long – lasting Shell Nail Art manicures on social media. We love seeing your creations!
Advanced Techniques for Maximum Longevity in Shell Nail Art
Explore our premium resources:
🎥 Nail Tech Training Videos
Master professional techniques with step-by-step visual guides
🔬 Chemistry of Nail Products
Understand how formulations affect application and wear
🛠️ Troubleshooting Forum
Get real-time solutions from our community of experts
📆 Product Expiration Guide
Learn when to replace products for optimal performance and safety
💅 Nail Health Handbook
Essential care routines for strong, beautiful nails