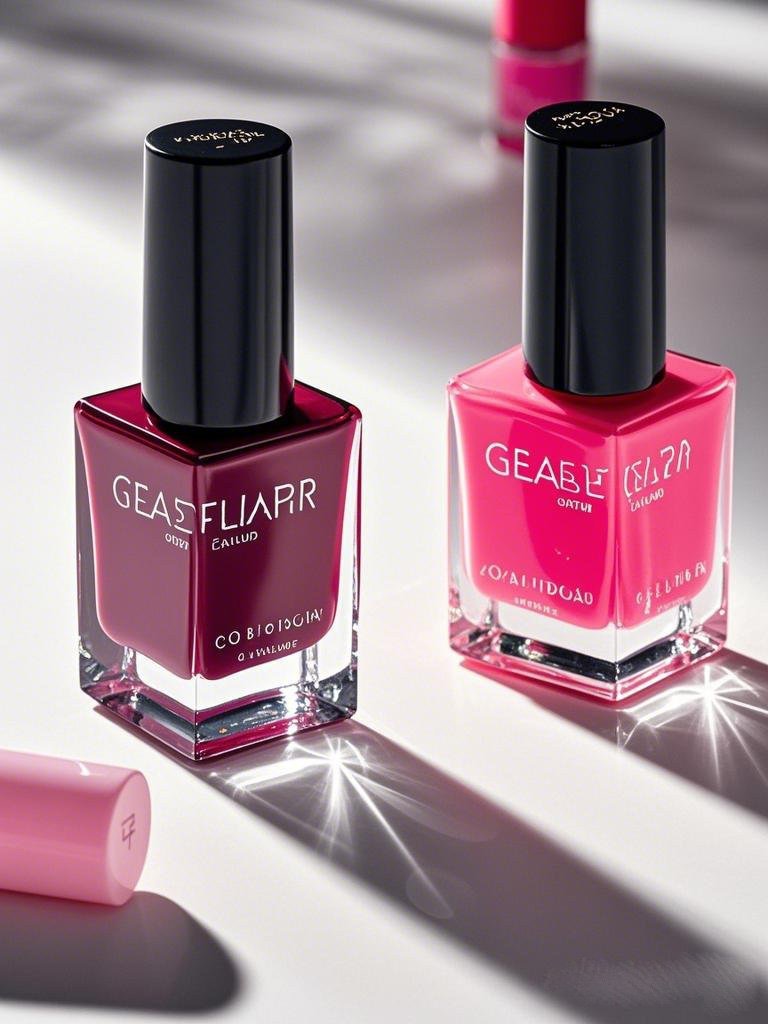
Easy and Creative Nail Designs You Can Try at Home
If you’re looking for easy and creative nail designs to try at home, you’ve come to the right place. Whether you’re a beginner or a nail art enthusiast, these DIY ideas will help you achieve salon-worthy nails without leaving your house. Let’s explore some easy and creative nail designs that are perfect for any occasion.
Why Try Easy and Creative Nail Designs at Home?
Creating easy and creative nail designs at home is not only fun but also cost-effective. With a few tools and some practice, you can achieve stunning results. Plus, it’s a great way to express your creativity and personalize your look. If you’re new to nail art, start with our Beginner’s Guide to Nail Art to build your confidence. For more tips on getting started, check out How to Start DIY Nail Art.
Tools You’ll Need for Easy and Creative Nail Designs
Before diving into the designs, gather these essential tools:
- Base coat and top coat
- Nail polish in various colors
- Nail art brushes or dotting tools
- Nail stickers or decals
- Scotch tape or nail guides
- Glitter or rhinestones (optional)
For more on essential nail tools, check out our guide on Must-Have Nail Art Tools. If you’re looking for budget-friendly options, read Affordable Nail Art Supplies.
Easy and Creative Nail Designs to Try at Home
1. Polka Dot Nails: A Simple and Creative Design
Polka dots are one of the easiest and most creative nail designs you can try at home.
How to Do It:
- Apply a base coat and let it dry.
- Paint your nails with a base color (e.g., pastel pink or white).
- Use a dotting tool or toothpick to create dots in a contrasting color.
- Seal with a top coat.
Pro Tip: Experiment with different dot sizes and colors for a playful look.
For more dot-inspired designs, check out Polka Dot Nail Art Ideas. If you’re interested in other beginner-friendly designs, explore Simple Nail Art for Beginners.
2. Ombre Nails: A Trendy and Creative Design
Ombre nails are a trendy and creative nail design that’s easier to achieve than you might think.
How to Do It:
- Apply a base coat and let it dry.
- Paint your nails with a light base color.
- Use a sponge to dab a darker shade onto the tips, blending upward.
- Seal with a top coat.
Pro Tip: Use complementary colors like blue and purple or pink and gold for a stunning effect.
For more ombre inspiration, read Ombre Nail Designs for Beginners. If you want to learn about advanced ombre techniques, visit Advanced Ombre Nail Art.
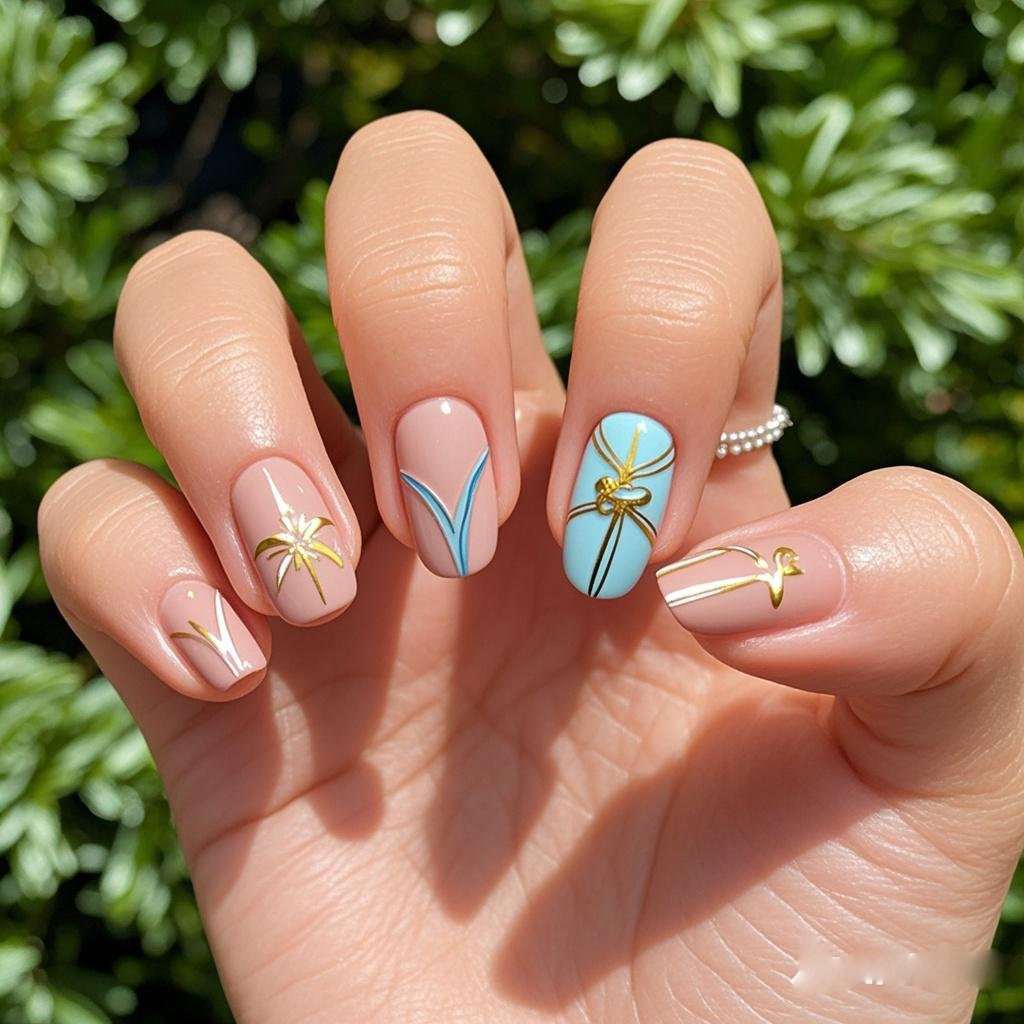
3. Striped Nails: A Classic and Easy Design
Stripes are a classic and easy nail design that adds a touch of elegance.
How to Do It:
- Apply a base coat and let it dry.
- Paint your nails with a base color.
- Use striping tape or a thin brush to create straight lines in a contrasting color.
- Seal with a top coat.
Pro Tip: Try diagonal or crisscrossed stripes for a unique twist.
For more striped designs, explore Striped Nail Art Tutorials. If you’re looking for more minimalist designs, check out Minimalist Nail Art Ideas.
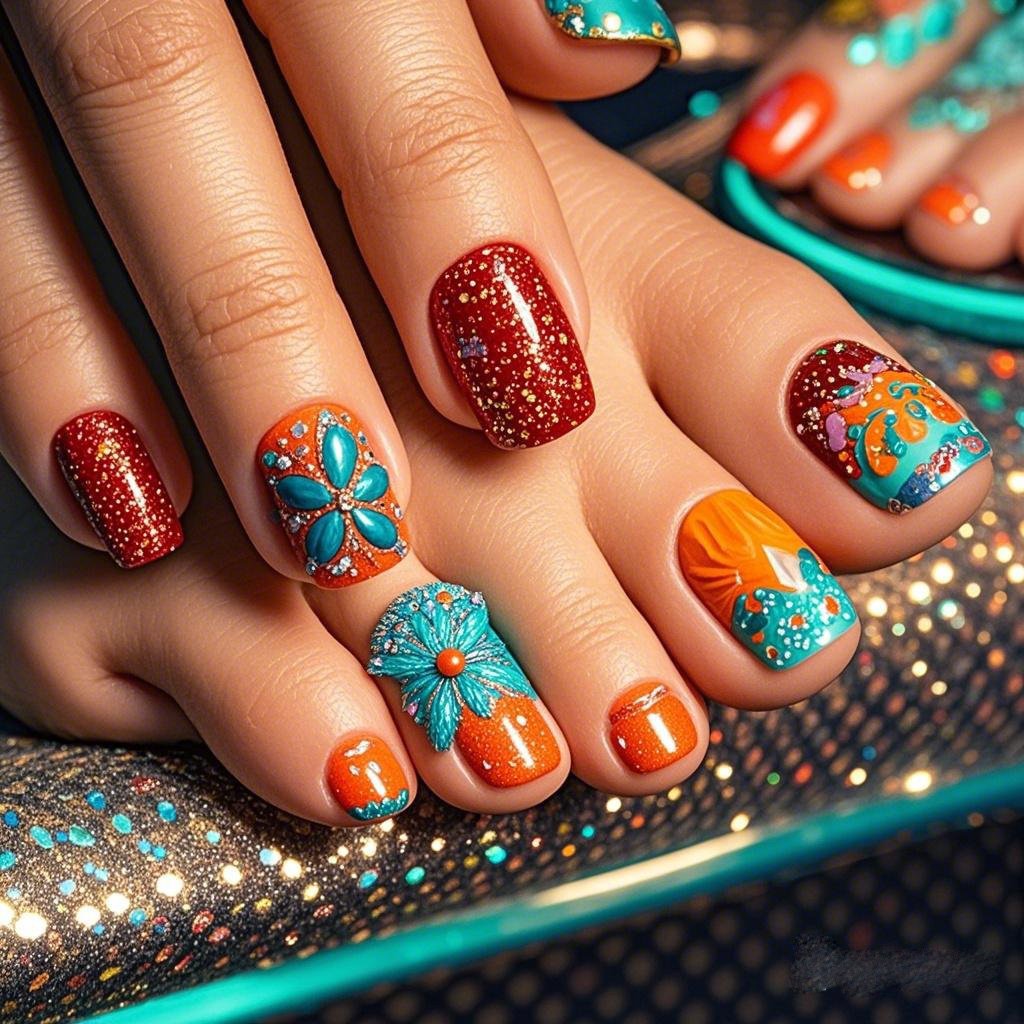
4. Glitter Accent Nails: A Sparkly and Creative Design
Add some sparkle to your nails with this creative and easy nail design.
How to Do It:
- Apply a base coat and let it dry.
- Paint your nails with a base color.
- Apply glitter polish or loose glitter to one or two accent nails.
- Seal with a top coat.
Pro Tip: Pair glitter nails with a matte top coat for a chic contrast.
For more glitter ideas, check out Glitter Nail Designs. If you’re curious about other ways to use glitter, read Creative Glitter Nail Art.
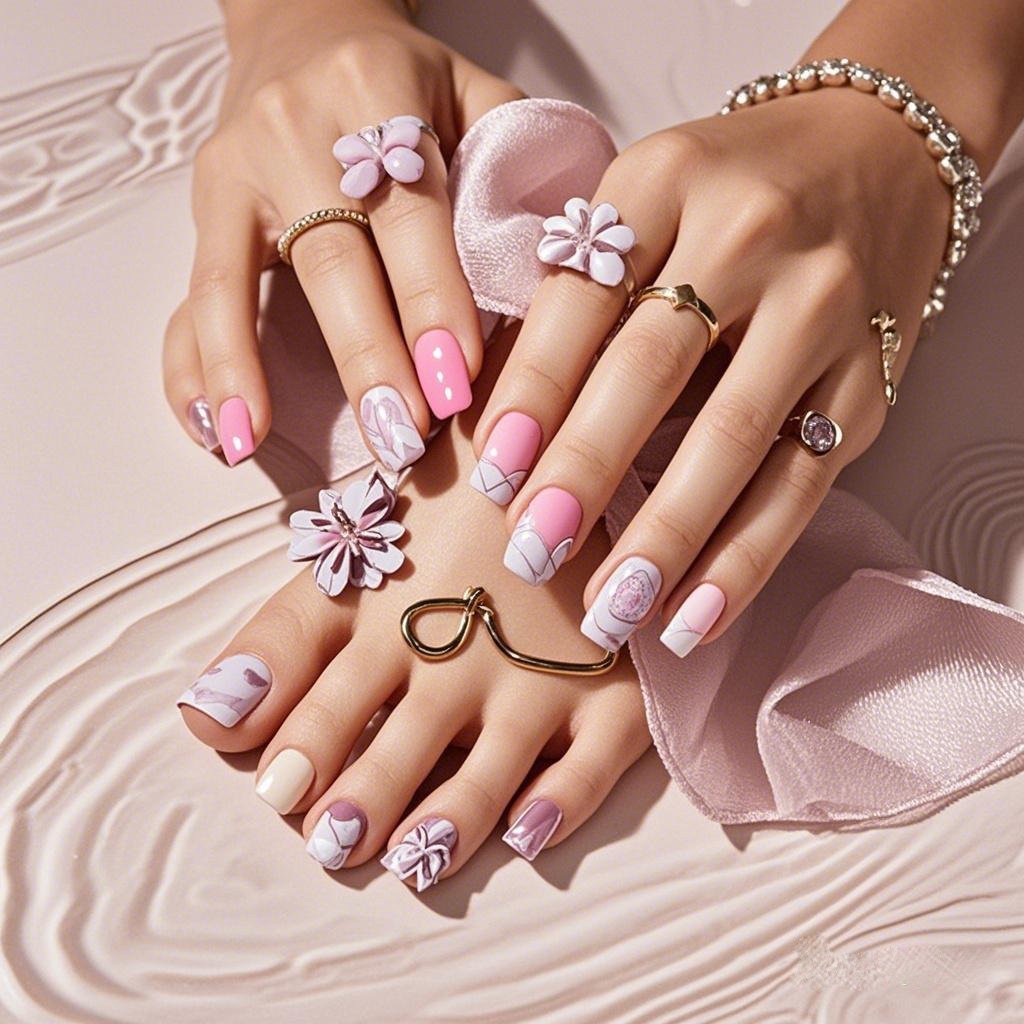
5. Floral Nail Art: A Feminine and Creative Design
Floral designs are perfect for adding a creative and feminine touch to your nails.
How to Do It:
- Apply a base coat and let it dry.
- Paint your nails with a light base color.
- Use a thin brush or dotting tool to create small flowers in different colors.
- Add leaves or stems for a complete look.
- Seal with a top coat.
Pro Tip: Start with simple flowers like daisies or roses before trying more intricate designs.
For more floral inspiration, read Floral Nail Art Ideas. If you’re interested in seasonal designs, explore Spring Nail Art Trends.
6. Geometric Nail Designs: A Modern and Creative Look
Geometric patterns are modern and easy to create with a little practice.
How to Do It:
- Apply a base coat and let it dry.
- Paint your nails with a base color.
- Use tape or a thin brush to create triangles, squares, or other shapes.
- Seal with a top coat.
Pro Tip: Stick to two or three colors for a clean, minimalist look.
For more geometric designs, explore Geometric Nail Art Tutorials. If you’re looking for bold designs, check out Bold Nail Art Ideas.
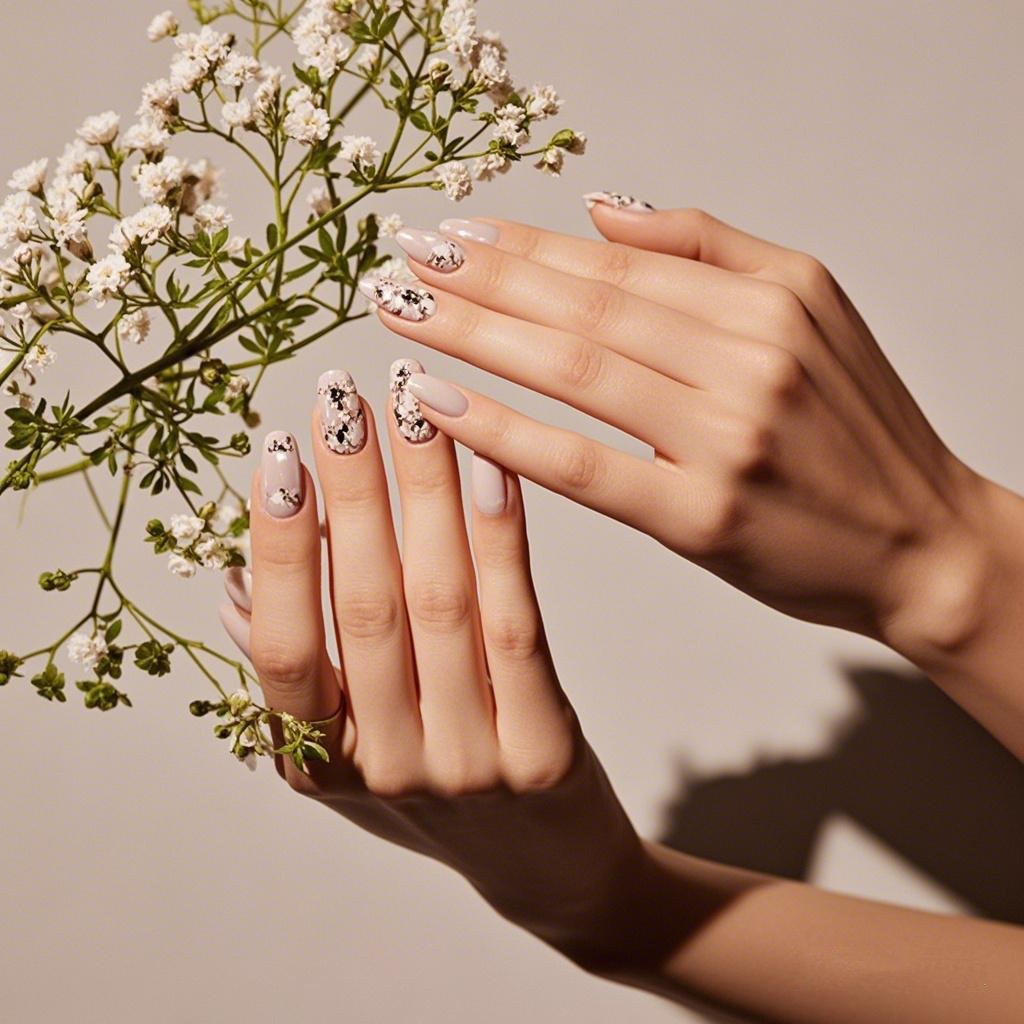
7. Marble Nails: A Creative and Eye-Catching Design
Marble nails are a creative and eye-catching design that’s easier to achieve than it looks.
How to Do It:
- Apply a base coat and let it dry.
- Drop a few colors of nail polish into a cup of water.
- Swirl the colors together with a toothpick.
- Dip your nail into the design and clean up the edges.
- Seal with a top coat.
Pro Tip: Use white as a base color to make the marble effect pop.
For more marble nail ideas, check out Marble Nail Designs. If you’re interested in other water-based techniques, read Water Marble Nail Art.
8. Negative Space Nails: A Minimalist and Creative Design
Negative space designs are minimalist and easy to create at home.
How to Do It:
- Apply a base coat and let it dry.
- Use tape or nail guides to cover parts of your nail.
- Paint the exposed areas with your chosen color.
- Remove the tape and seal with a top coat.
Pro Tip: Experiment with different shapes like triangles or half-moons.
For more negative space ideas, read Negative Space Nail Art. If you’re looking for more modern designs, explore Modern Nail Art Trends.
Tips for Perfect Easy and Creative Nail Designs
- Start Simple: Begin with basic designs and gradually try more complex ones.
- Use Quality Tools: Invest in good brushes and polishes for better results.
- Practice Patience: Allow each layer to dry completely before moving on.
- Clean Up Mistakes: Use a small brush dipped in nail polish remover to fix errors.
For more tips, check out DIY Nail Care Tips. If you’re looking for ways to maintain your nail art, read How to Make Your Nail Art Last Longer.
Conclusion: Get Creative with Easy and Creative Nail Designs
With these easy and creative nail designs, you can transform your nails at home. Whether you prefer polka dots, ombre, or floral patterns, there’s something for everyone. So grab your tools, unleash your creativity, and enjoy stunning nails without leaving your house!
Call to Action
- Explore More: Check out our guide on Top Nail Art Trends.
- Share Your Designs: Post your nail art on social media and tag us @YourWebsite.
- Shop Nail Tools: Find the best nail art kits and polishes on our website.
Recommended Reading
- Top Nail Art Trends.
- How to Make Your Nail Art Last Longer.
- DIY Nail Care Tips.
- DIY Nail Care Tips for Beginners
- Beginner’s Guide to Nail
- How to Start DIY Nail Art.
- Must-Have Nail Art Tools
- Affordable Nail Art Supplies.
- The Ultimate Guide to Nail Art
- Eco-Friendly Nail Care Products
External Links for Additional Resources
- American Academy of Dermatology: Learn more about nail health from the American Academy of Dermatology.
- Healthline: For additional tips on nail care, visit Healthline’s guide to nail health.
- Mayo Clinic: Explore more about nail health from Mayo Clinic.
- WebMD: Read about nail care tips on WebMD.
- CDC: Learn about nail hygiene from the CDC.
