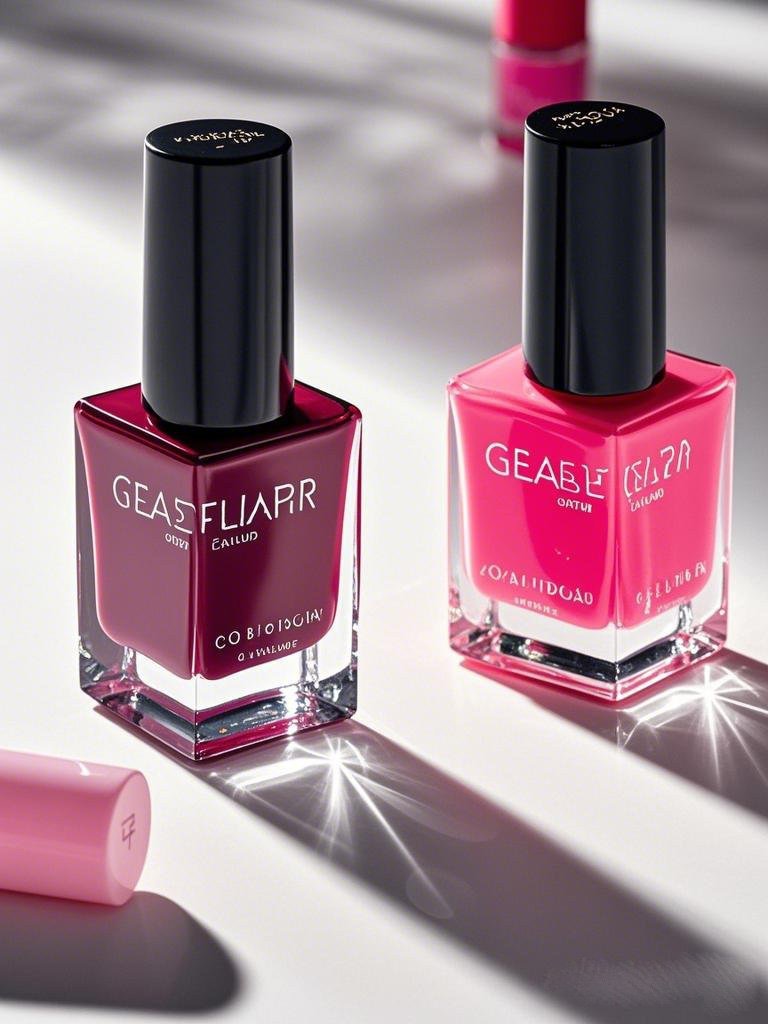
How to Create Stunning 3D Nail Art at Home
If you’ve ever admired intricate 3D nail art and wondered how to recreate it at home, you’re in the right place. This guide will walk you through everything you need to know about creating 3D nail art at home, from the essential tools to step-by-step techniques. Whether you’re a beginner or a seasoned nail artist, this guide will help you elevate your nail game.
What is 3D Nail Art?
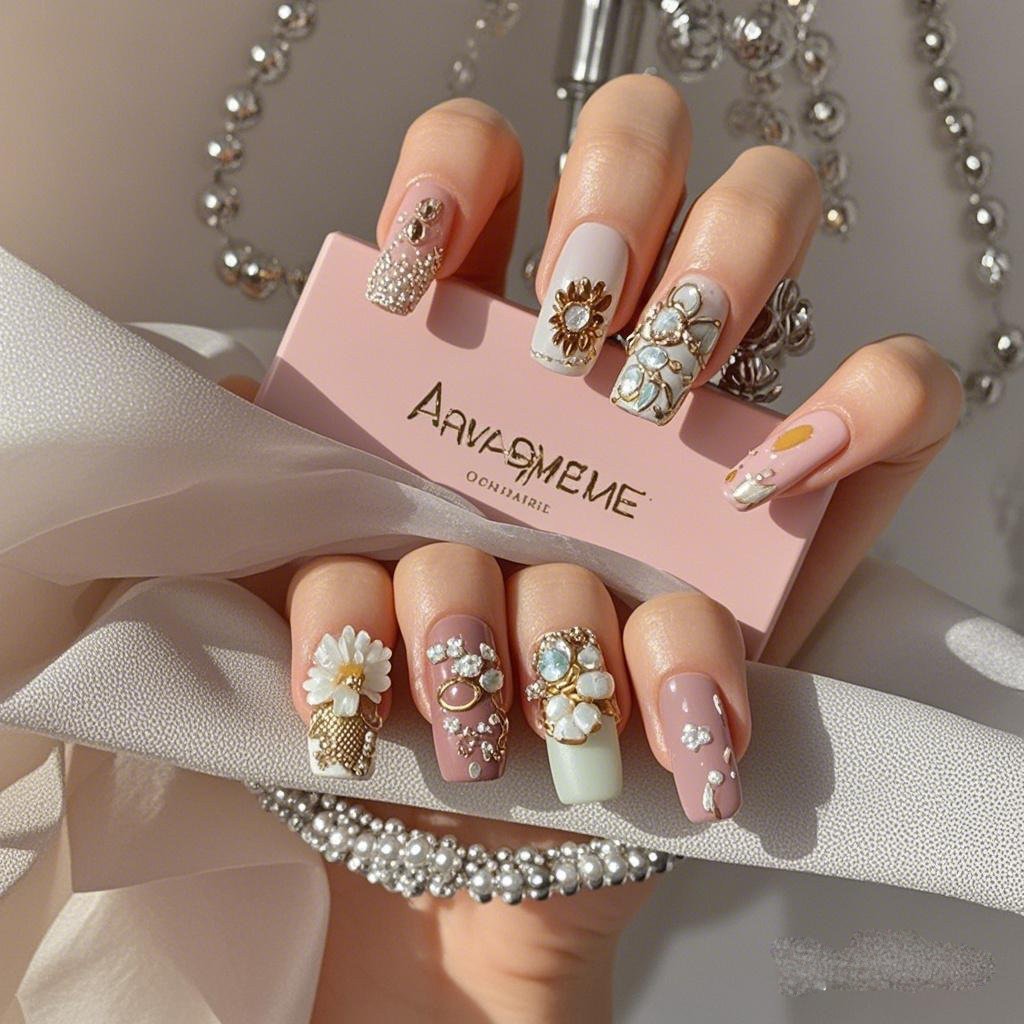
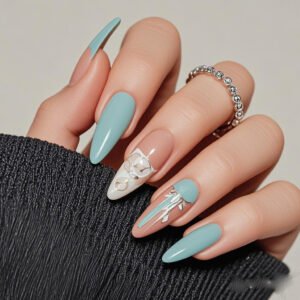
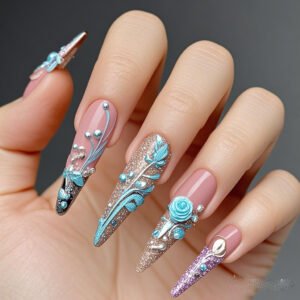
3D nail art involves adding three-dimensional elements to your nails, such as beads, charms, or sculpted designs. This 3D nail art at home guide will show you how to achieve these stunning designs without needing a professional salon visit.
Why Try 3D Nail Art at Home?
Creating 3D nail art at home is not only cost-effective but also allows you to express your creativity. Here’s why you should give it a try:
- Customization: Design nails that reflect your unique style.
- Cost Savings: Save money by doing it yourself.
- Convenience: Create stunning designs from the comfort of your home.
For more on DIY nail art, check out our guide on DIY Nail Art for Beginners.
Essential Tools for 3D Nail Art at Home
Before diving into 3D nail art at home, you’ll need the right tools. Here’s a list of essentials:
- Base and Top Coat: Ensures longevity and a polished finish.
- Acrylic or Gel Polish: Provides a strong base for 3D designs.
- Nail Glue: Secures 3D elements like beads and charms.
- Dotting Tools and Brushes: For precise application and detailing.
- 3D Nail Decorations: Beads, rhinestones, charms, and more.
For a detailed list of tools, visit our Nail Art Tools Guide.
Step-by-Step Guide to Creating 3D Nail Art at Home
Follow these steps to create stunning 3D nail art at home:
1. Prep Your Nails
Start with clean, dry nails. Trim, shape, and buff your nails to create a smooth surface. Apply a base coat to protect your nails and ensure the polish adheres well.
For more nail prep tips, check out our Nail Care Basics guide.
2. Apply Your Base Color
Choose a base color that complements your 3D design. Apply one or two coats, allowing each layer to dry completely.
3. Add 3D Elements
Using nail glue, carefully place your 3D decorations on your nails. You can use tweezers for precision.
4. Seal the Design
Once your 3D elements are in place, apply a top coat to seal the design and add shine. Be gentle to avoid dislodging the decorations.
For more tips on sealing designs, read How to Make Your Nail Art Last Longer.
Trending 3D Nail Art Designs
This 3D nail art at home guide wouldn’t be complete without showcasing some of the hottest trends. Here are a few ideas to inspire your next manicure:
1. Floral 3D Nails
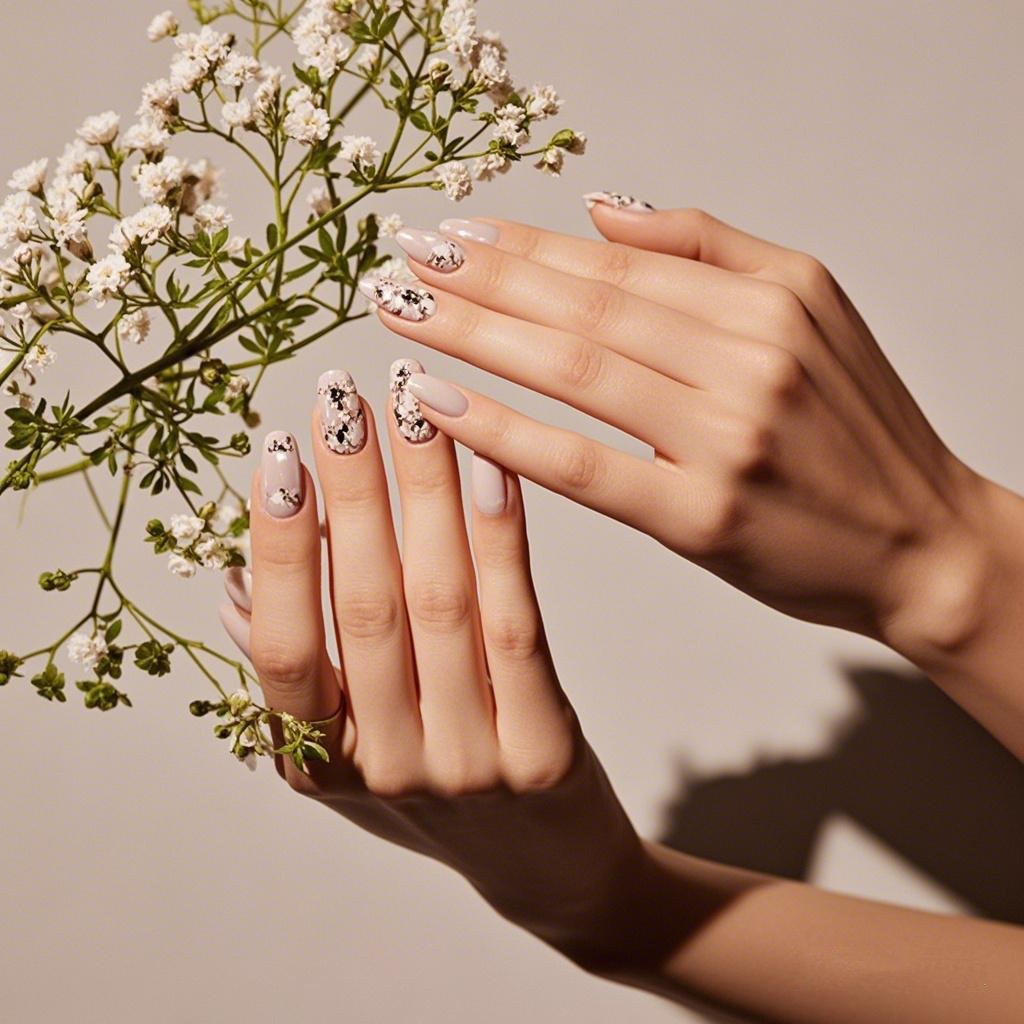
Create delicate flowers using acrylic or gel. Add tiny beads for a realistic touch.
2. Geometric 3D Nails
Use geometric shapes like triangles, squares, or hexagons for a modern look.
3. Rhinestone Accents
Add sparkle with rhinestones arranged in patterns or as single accents.
For more design inspiration, explore our Top Nail Art Trends guide.
Tips for Perfect 3D Nail Art at Home
- Start Simple: Begin with basic designs and gradually try more complex ones.
- Use Quality Products: High-quality tools and materials make a big difference.
- Practice Patience: Take your time to ensure precision and avoid mistakes.
For more tips, check out our Nail Art Tips and Tricks guide.
Common Mistakes to Avoid
When creating 3D nail art at home, avoid these common pitfalls:
- Overloading Nails: Too many decorations can make your nails look cluttered.
- Skipping the Base Coat: A base coat ensures your design lasts longer.
- Rushing the Process: Allow each layer to dry completely before moving on.
For more on avoiding mistakes, read Common Nail Art Mistakes and How to Fix Them.
How to Remove 3D Nail Art
Removing 3D nail art requires care to avoid damaging your nails. Here’s how:
- Soak a Cotton Ball: Soak a cotton ball in nail polish remover.
- Press and Hold: Press the cotton ball onto your nail and hold for a few seconds.
- Gently Remove: Wipe away the polish and decorations in one smooth motion.
For more tips on nail care, check out our Nail Care Basics guide.
Conclusion: Embrace 3D Nail Art at Home
3D nail art at home is a fun and creative way to express yourself. With this guide, you have all the tools and techniques you need to create stunning designs. Whether you’re a beginner or a seasoned pro, there’s always something new to learn and try.
Call to Action
- Explore More: Check out our guide on Top Nail Trends for 2025.
- Share Your Look: Post your 3D nail art on social media and tag us @YourWebsite.
- Shop Nail Art Supplies: Find the best nail kits and products on our website.
External Links for Additional Resources
- The Spruce: 3D Nail Art: Discover more 3D nail art ideas.
- Byrdie: Nail Art Designs: Explore top 3D nail designs.
- Allure: Nail Art Inspiration: Find inspiration for your next manicure.
- Refinery29: Nail Care Tips: Get expert advice on maintaining your nail art.
- Glamour: Nail Trends: Stay updated on the latest nail trends.
Recommended Reading
- Top Nail Trends for 2025.
- Nail Care Basics
- Common Nail Art Mistakes and How to Fix Them.
- Nail Art Tips and Tricks
- How to Make Your Nail Art Last Longer.
By embracing 3D nail art at home, you can enjoy a polished, elegant look that’s perfect for any occasion. Happy painting!
